Tel. : +86 577 6231 0509 E-mail : info@vibrationmotor.net
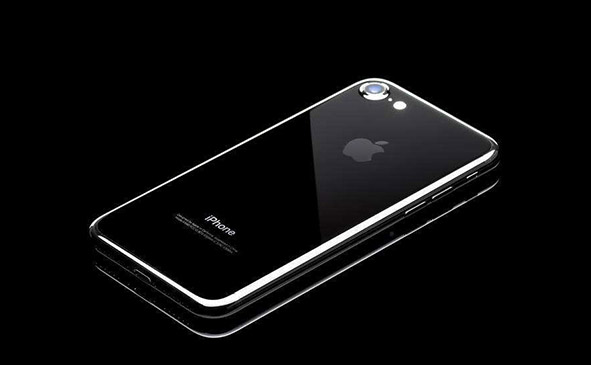
Disassemble of IPHONE 6
Tool for disassemble
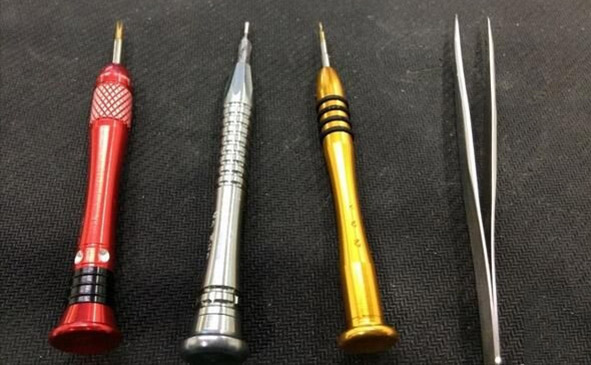
Disasseble from the first crew
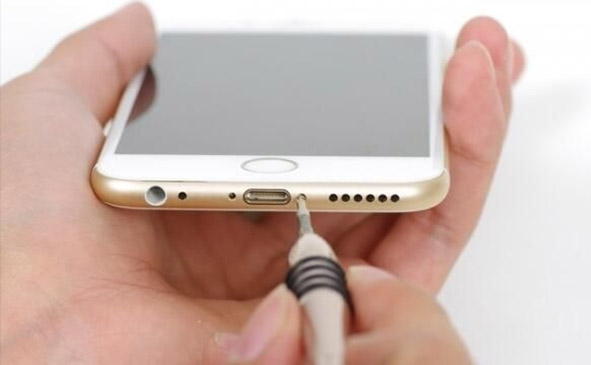
There are two lock screen screws on the left and right sides of the charging port. After we remove the screen, we start to remove the screen. The top of the earphone hole is the screen maintenance port. Here is what is the maintenance port. It is easy to disassemble if the screen needs to be replaced when the screen is broken. Apple gave the sale after the sale.
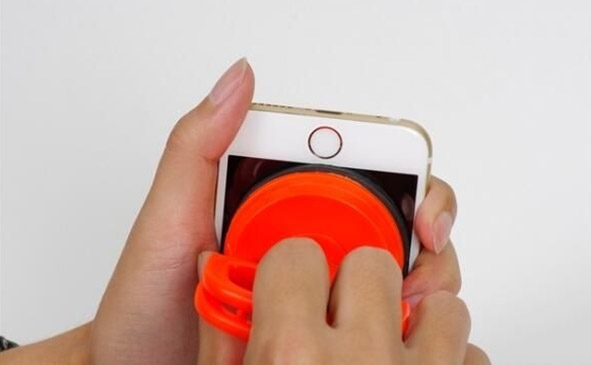
First open the screen from the end of the phone, remember not to pull hard.
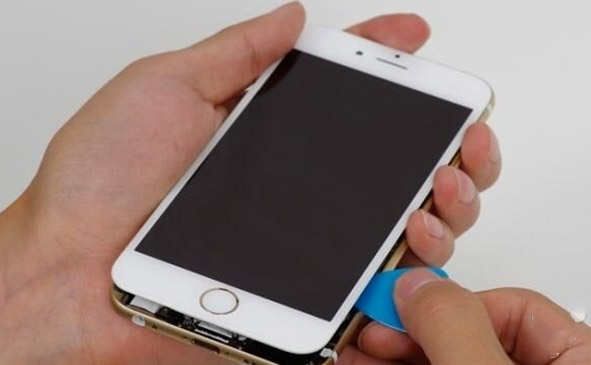
After the screen is opened, use the plastic piece to slowly open along the gap opened by the screen of the mobile phone. Remember not to lick the top of the screen, only the left and right of the screen, because there is a connecting cable at the top.
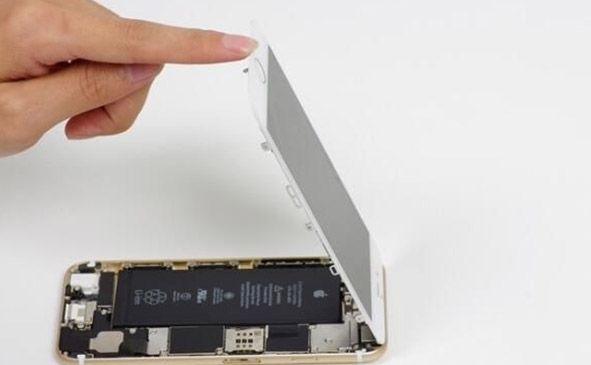
Then we first remove the battery's patch plate and prepare to power off.
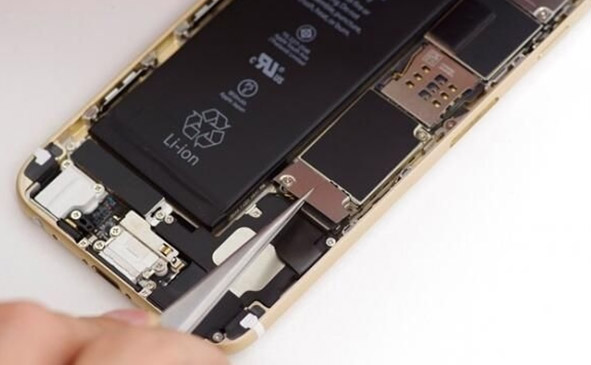
Here, we especially remind us to power off the mobile phone motherboard to avoid short-circuiting the motherboard during the disassembly process. Use a plastic piece to gently open the motherboard and battery connection.
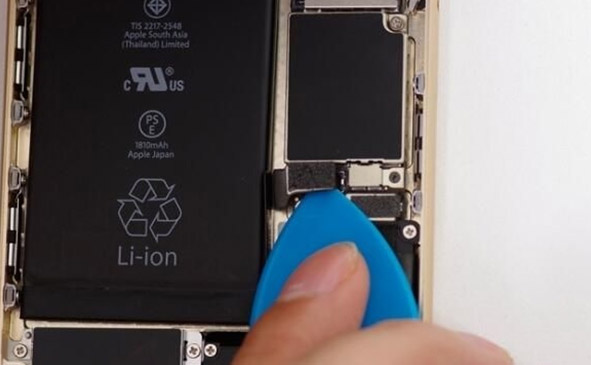
Then we removed the shield of the screen cable and removed the screen cover with 5 screws.
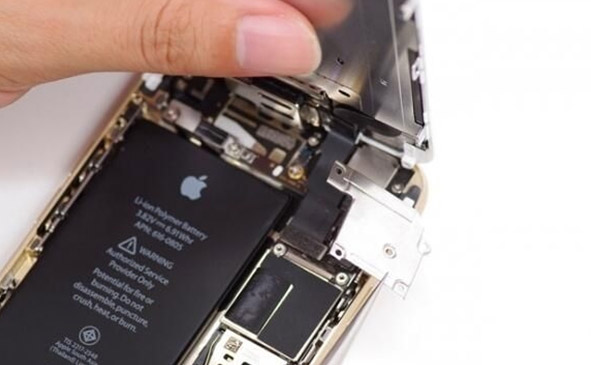
After opening, there are four cables, which are the screen display cable, the touch cable, the front camera cable, and the fingerprint recognition cable.
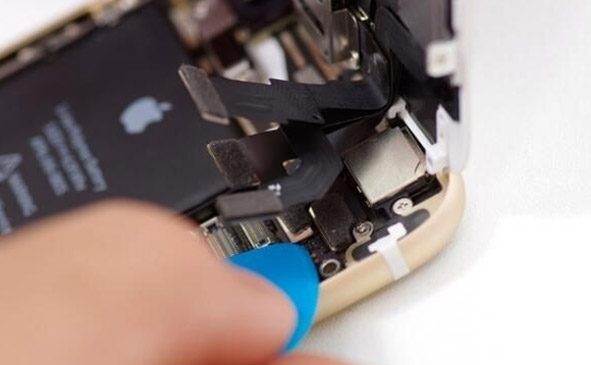
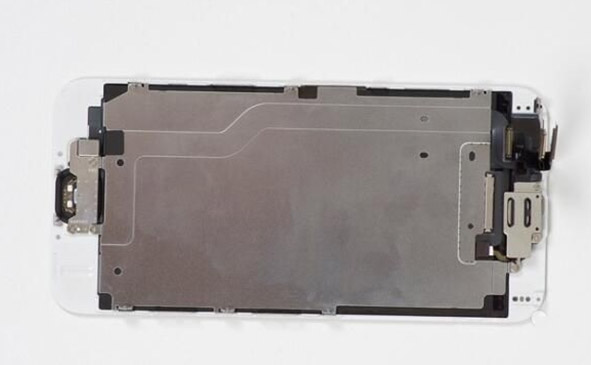
Physical photo after the screen is removed
Here, note that when the battery is removed, there is a battery backing on the back of the battery. Do not harden it here. This type of adhesive will lose its sticky capacity when it is stretched.
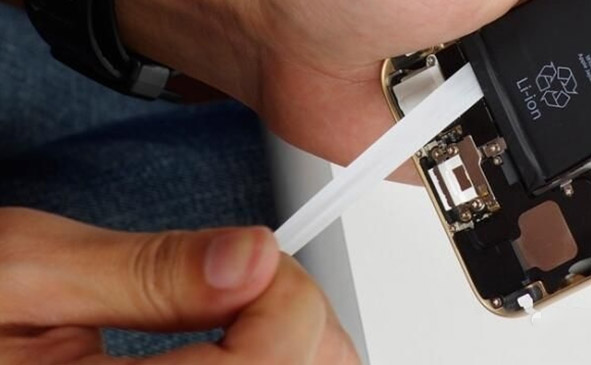
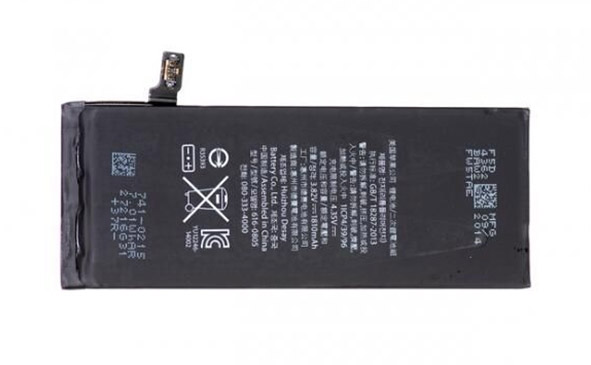
Physical photo after the battery is removed
The battery is 1810 mA. Here the 6P battery is 2915 mAh 6s battery is 1715 mAh 6sp is 2750 mAh.
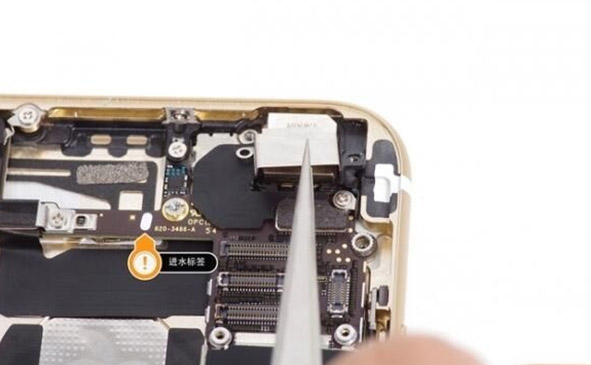
Remove the shield from the camera. Pay special attention to the fact that there is a white bar in the middle of the screen, and the water mark becomes red. You can judge whether it is water according to the color here.
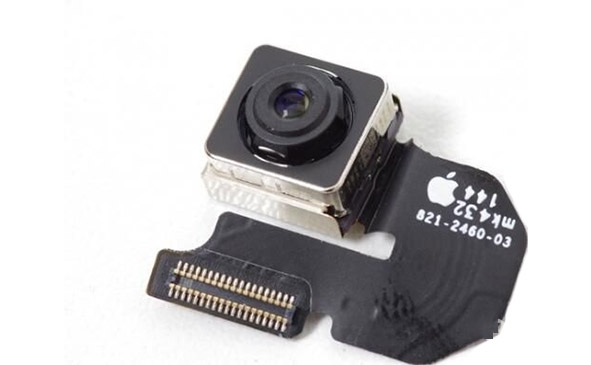
Physical photo taken after the camera is removed
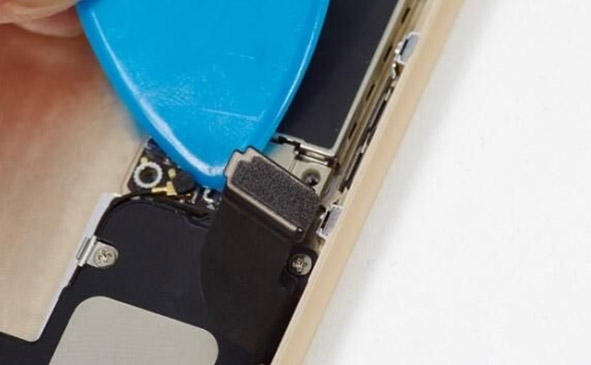
Next, remove the motherboard, first unplug the bottom of the motherboard, this port manages the sound of the phone, headphones, vibration, signal, charging, very important.
Next, we will disassemble the antenna. Here, we must note that it is necessary to force upward from the top of the antenna, and the hand should be stable. The antenna here is the signal of the mobile phone card.
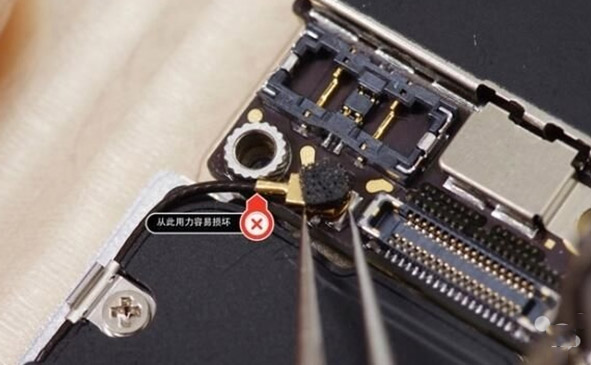
There is a large female screw near the camera position.
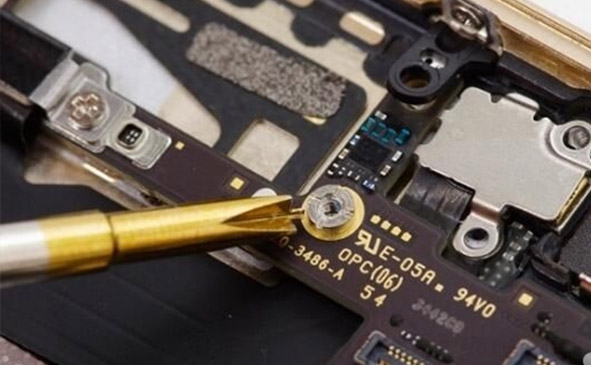
Next, we started to disassemble the plate and the volume vibration cable.
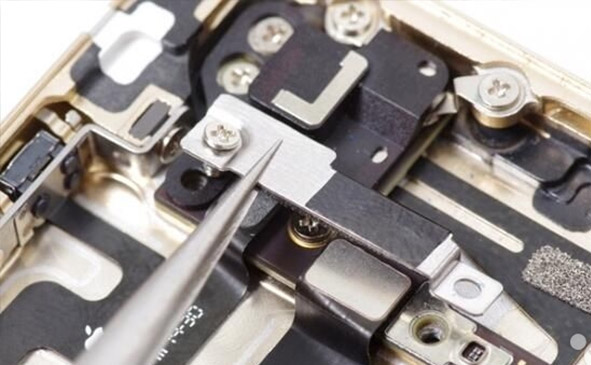
This is the antenna of the mobile phone. Take off the antenna. This antenna manages the importance of GPS and Wifi signals.
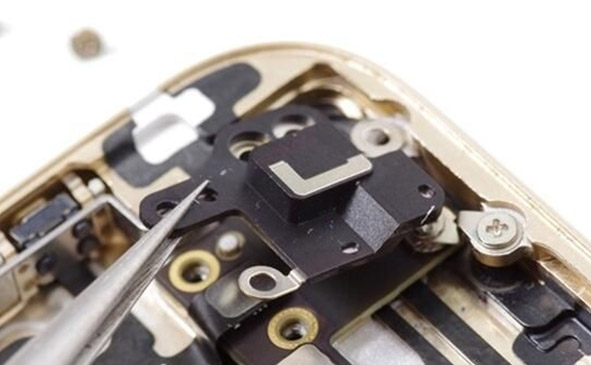
Next, open the connection between the boot and the volume and the motherboard.
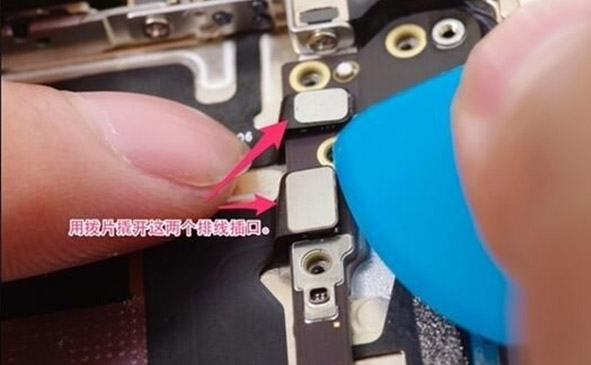
Then you can remove the motherboard.
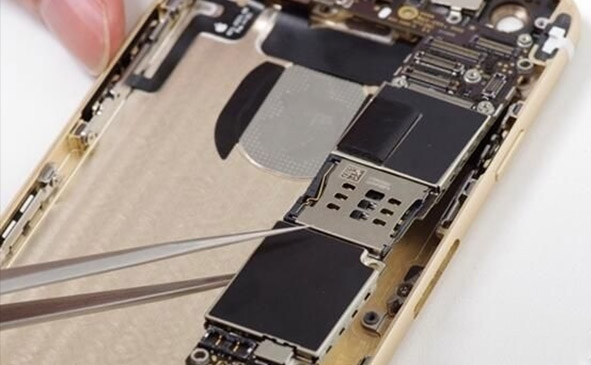
After the main part is removed, the next part is the small part on the bottom case.
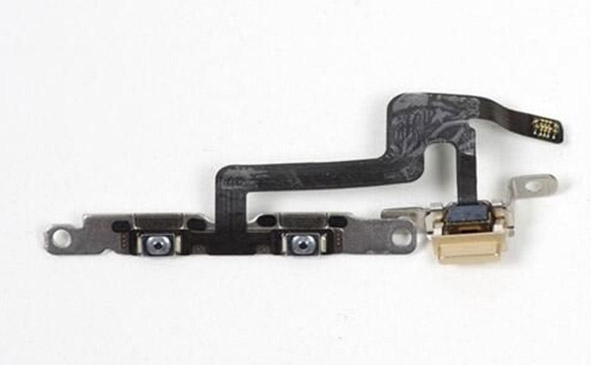
Continue to disassemble the bottom case. The following picture shows the volume button and the vibration button switch. Unscrew the screws from the side.
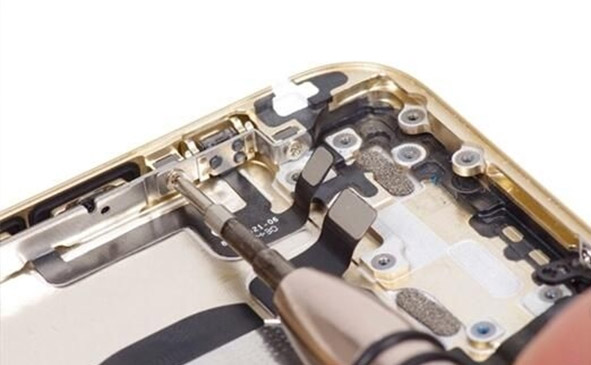
Here is the power button and flash and the camera recorder.
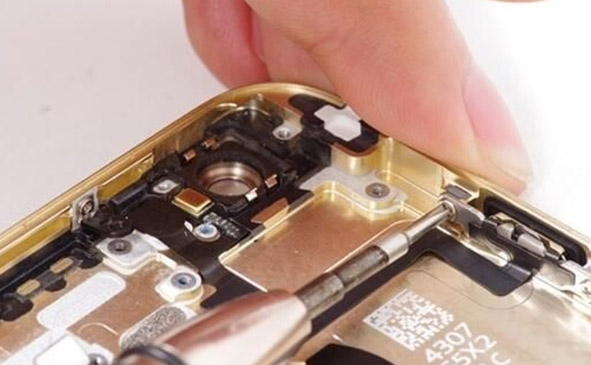
The cable is glued to the bottom case. Be sure to carefully remove it. Do not pull it hard.
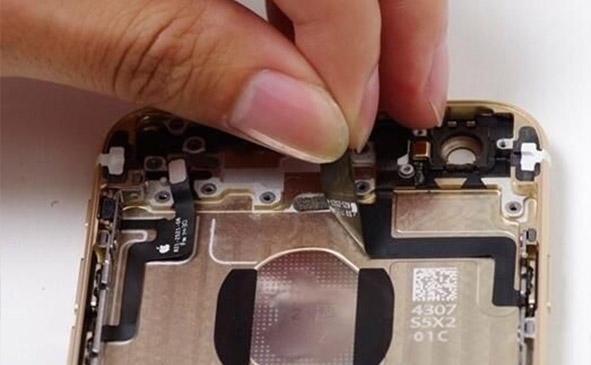
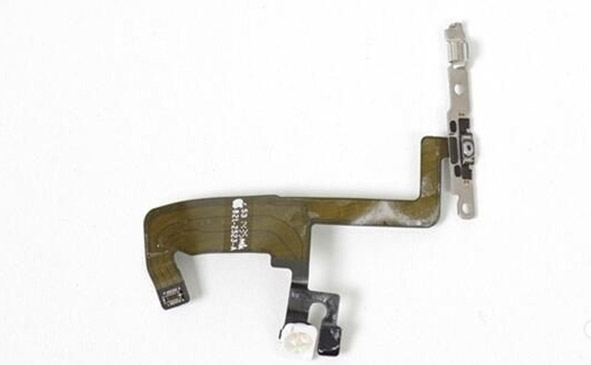
This line integrates power button, flash, and noise canceller
This line volume button, mute button
Remove the external speaker
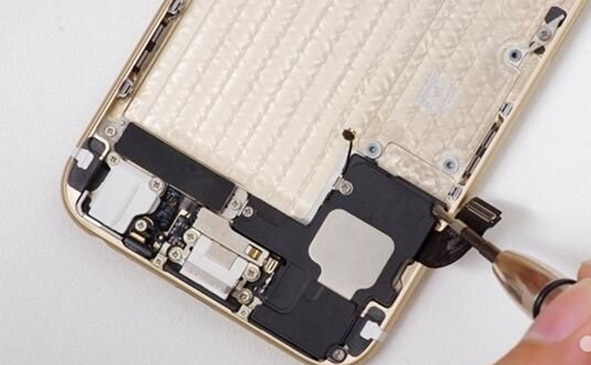
Next, the vibrator motor is connected, the vibrator and the main board are connected by two contacts, and carefully removed.
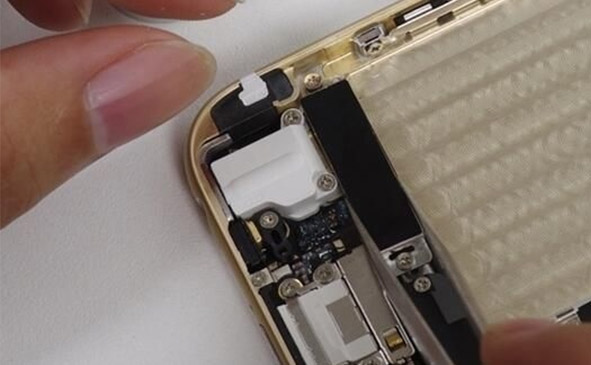
This is the vibrator motor of iphone6

Remove the antenna connector. The contacts on this connector are linked to the metal plate on the front panel.
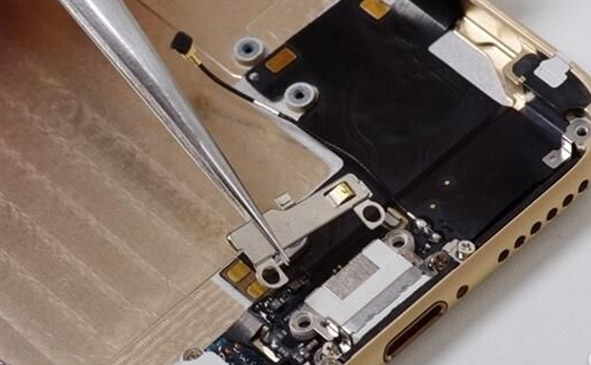
Then remove the small part, which is used to fix the microphone. When you remove it, be careful. If you accidentally lose it, you will lose it. Then remove a few screws and take the tail cable.
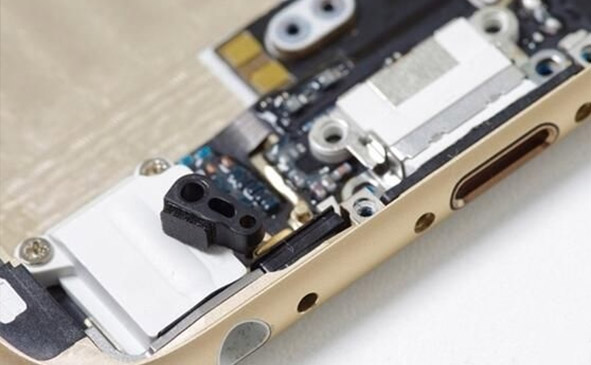
Now that all the parts of the mobile phone bottom case assembly have been disassembled, we will start disassembling the screen components.
Start with the home button, which is what we call the return button.
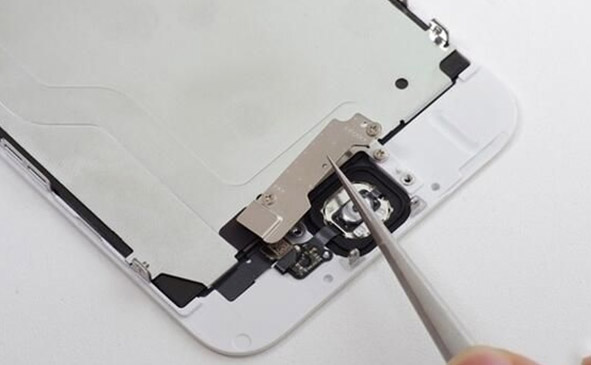
Unscrew the left and right screws on the side of the screen iron plate
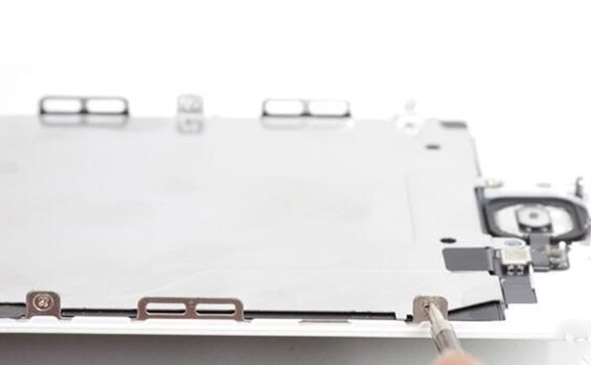
Remove the camera earpiece sensor button stencil
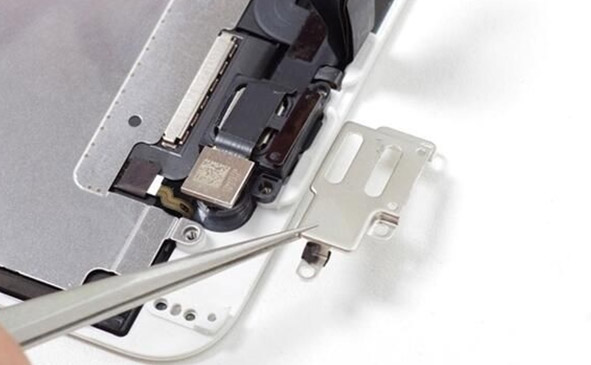
Here we carefully tear off the fingerprint sensor cable
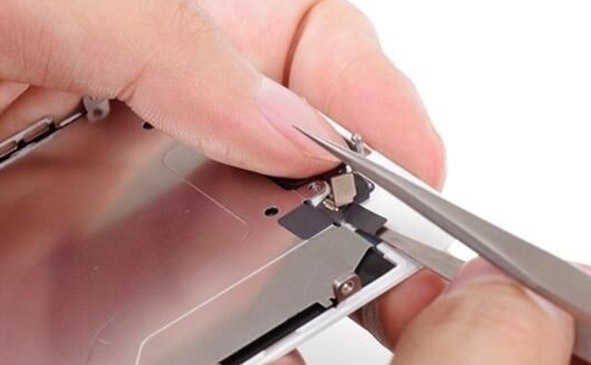
Remove the screen iron plate
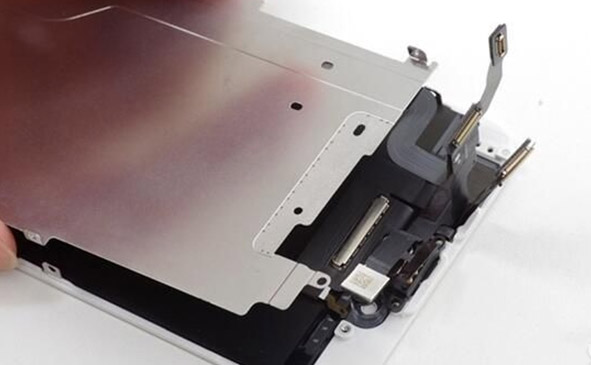
After the screen metal plate is removed, we can find that the fingerprint touch ID cable is cleverly hidden under the anti-static heat dissipation film.
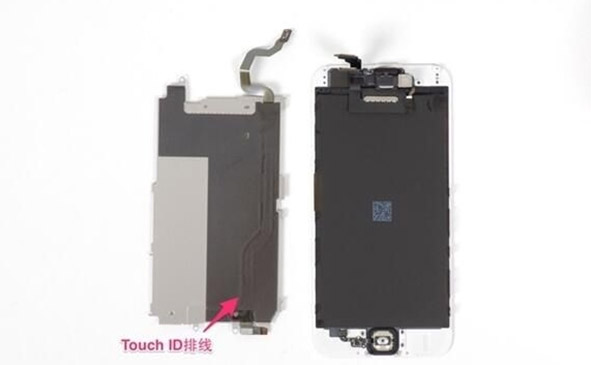
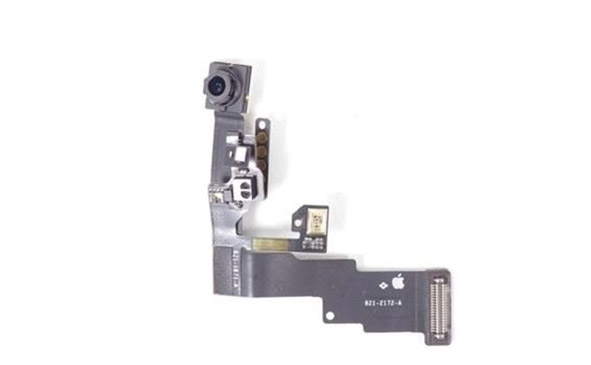
Next remove the camera sensor cable. This integrates a front camera, light sensor, and distance sensor.
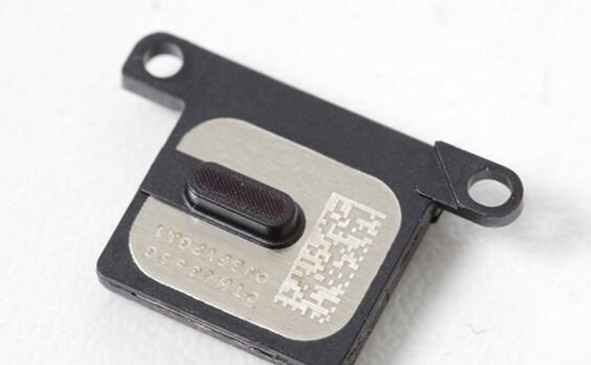
The following small thing is the receiver.
Special note that the Home button is glued to the screen on the rubber ring. Pay special attention when removing the Home button. If you don't pay attention, you can't restore it perfectly.
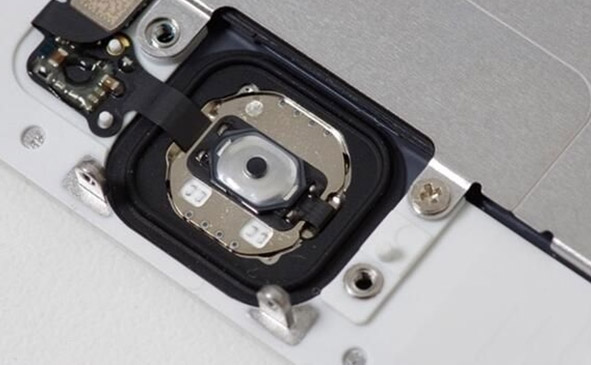
Here is a close-up of the two return keys for everyone.
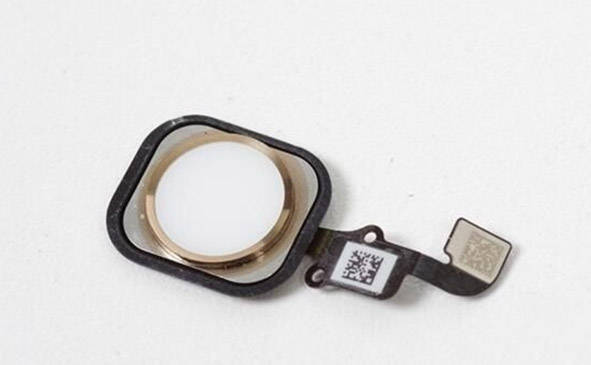
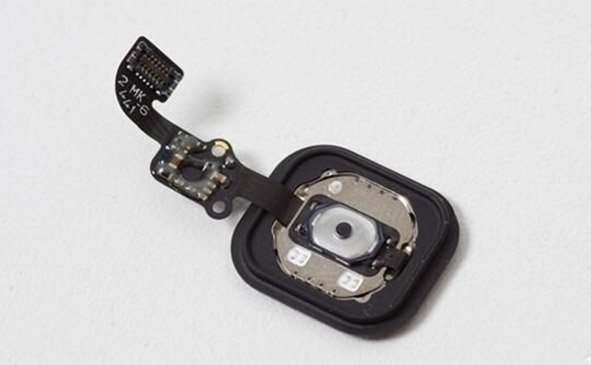
OK, here is all the work, you’re done, here are a few photos of the family.
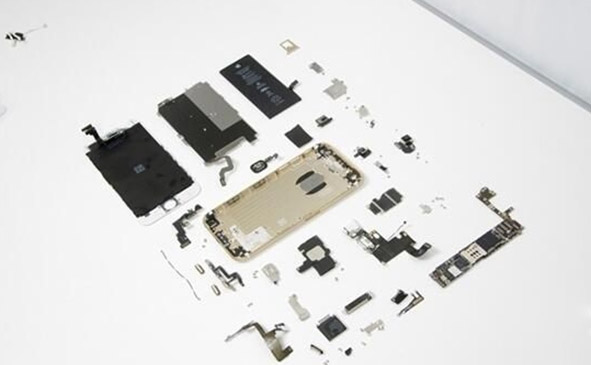
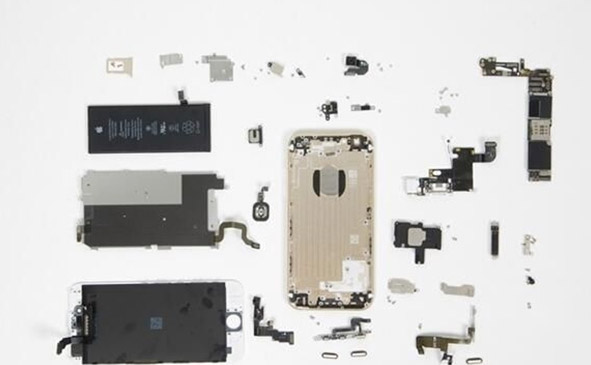
That’s all.
 Previous:Disassebmle of a female vibrator
 Next:Xiaomi 6